Change orders are used when additional work will be done on a job that has had the estimate approved and work is currently in progress.
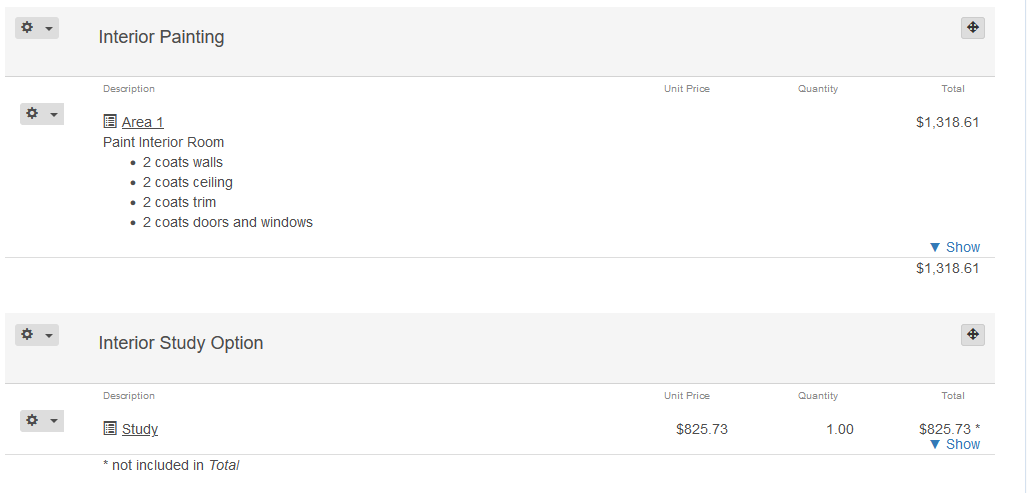
1.) Add your additional services as line items and put them into a unique group ex. Change Order. (If you are not familiar with groups you can learn more about them here.)
2.) After adding all of your additional items, scroll down to the Proposals row and select the + button.
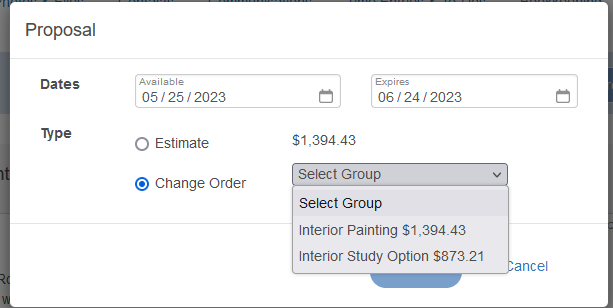
3.) Select Change Order and select the group you added the new items to.
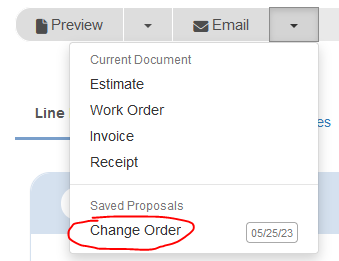
4.) Click Save and email the Change Order to your client.
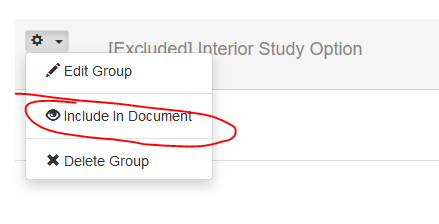
After creating the change order, the new group will automatically be excluded from the project but will be automatically re-included once the client has approved the change order. You can manually include it into the project at any time by editing the group and selecting Include In Document.