Linking 2 Projects together
- Open a complete project that you want to setup a Warranty project for.
- Copy the URL link from the address bar.
- Create a new Estimate or Work Order for the client and enter the following into the internal notes:
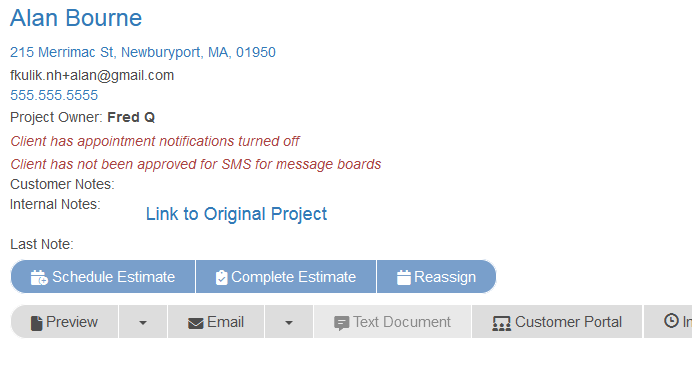
#### [Link to Original Project]( paste the link you copied in the parentheses )
Save the project.
- Copy the URL link from the new project that you are on, then click the Link to Original Project link.
- In the original project, edit the project and enter the following into the Internal Notes:
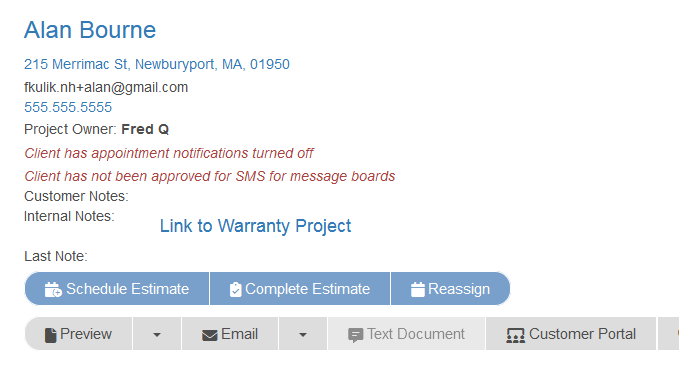
#### [Link to Warranty Project]( paste the link you copied in the parentheses )
You now can easily bounce back and forth between the old and new projects. You could create these warranty projects in advance and set the reminder date to when you want to have someone schedule the next inspection.
Add line items and notes to the warranty project as needed and simply don't place any values on the line items unless the customer will end up getting billed.
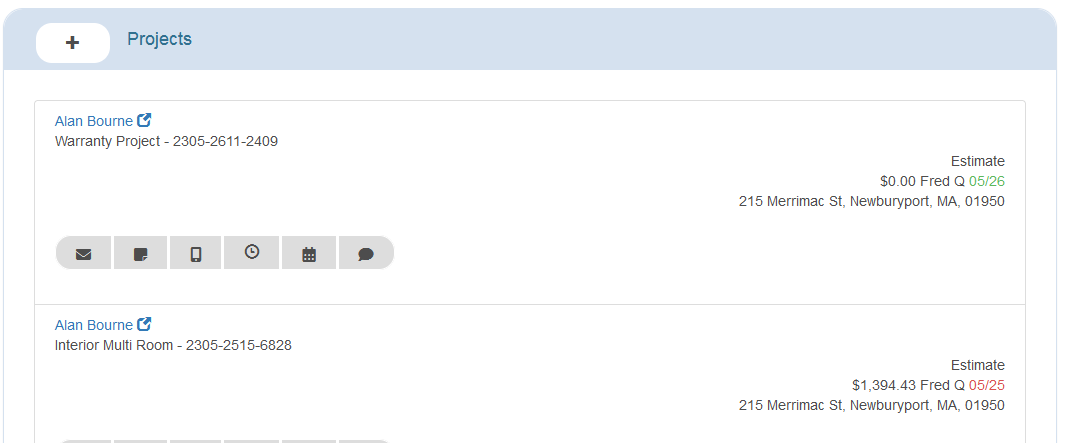
In the Project Name field enter something like Warranty Project 2015. It would look like this from the client screen:
One click navigation between the Warranty Project and the Original Project:
You've created a clean history of the project and clearly differentiated the original project from the warranty work.