Welcome to Estimate Rocket! Because there are so many different ways that you can use Estimate Rocket, it's easy to wonder how to get started. This section outlines the most important tasks to get you up and running and making estimates as quickly as possible.
Below is a video version of this guide but we also have a text version below that here. You might find it helpful to print this guide for ease of reference throughout this process
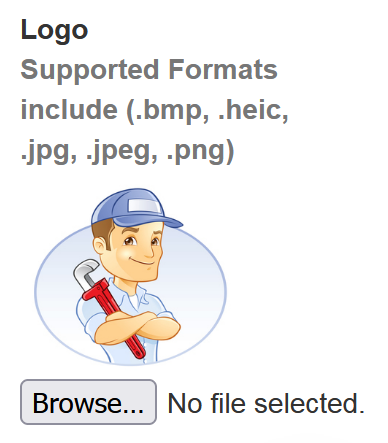
1.) Upload your Logo
Your logo will appear at the top of all your documents and in the customer portal.
- Go to Settings>Company Info.
- Select the Browse button and locate your photo.
- Save the logo by selecting Update at the bottom.
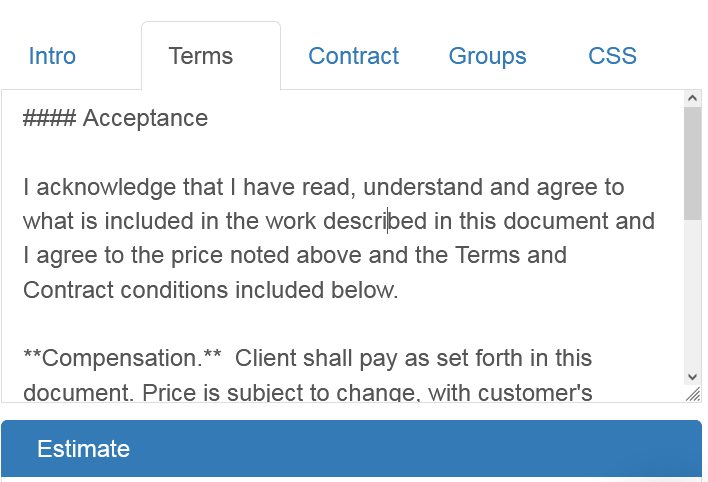
2.) Review Terms & Conditions
The terms and conditions will appear at the bottom of your documents. We set default terms but it is highly recommend that you review and update them before sending any documents to a customer.
- Go to Settings>Document Templates.
- Review and edit your Terms.
- Save when finished.
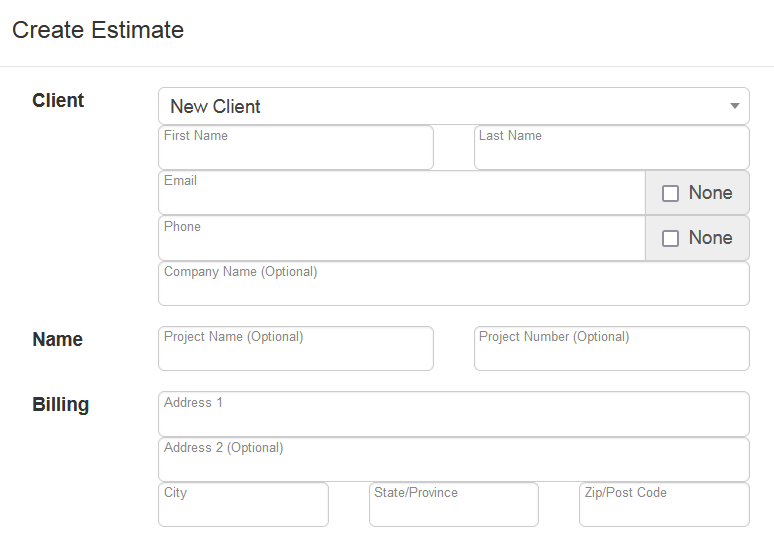
3.) Create an Estimate
The starting point of a project is creating an estimate. To make an estimate simply select the green + Estimate button on the Dashboard or Projects page.

4.) Enter Client Info
When creating a new project you can create a new client or use the search bar at the top to find an existing client which will automatically fill in their information for you.
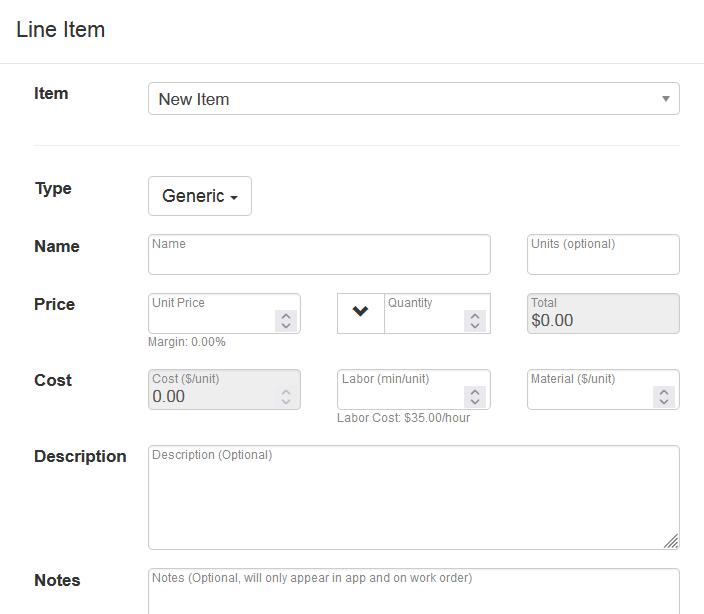
5.) Add a Line Item
Line items will be the services, products, materials, or anything else you are doing for your client. For now, just enter a Name, Unit Price, and Quantity. There are many ways you can customize line items which you can learn more about here. LINK
- Select the green + button to add a new item.
- Enter in a Name, Unit Price, and Quantity.
- Save when finished.
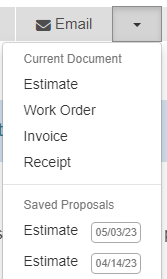
6.) Send to Customer
Before sending the estimate to the customer you should preview it to make sure it has everything on it you want. You can do this at anytime by using the Preview button. After that it can now be emailed to the customer and they will be able to view the estimate by clicking a link that automatically gets inserted into the email.
- Select Preview in the Documents row to view the estimate.
- Choose Complete Estimate to create a Proposal.
- Send the estimate by selecting the Email button.
7.) Managing Projects
Now that we have finished our estimate, we want to keep track of what has been done so far on this specific project so next time you look at it, you know exactly what needs to be done next to move it towards completion. The project workflow feature will help you manage the project from start to finish.
Congratulations!
You have just completed your first estimate but we're only getting started. Estimate Rocket has tons of other great features which you can learn about on our support homepage.