Deliver proposals (estimates) to clients through a customer web portal that allows the clients to view, sign and accept your proposals online!
You can also see which proposals have been read and when, and will be notified when your proposal has been accepted.
Note: When you're testing this, it's best to create a test project to a fake client because once a proposal is accepted by a client, it can't be deleted.
Creating Proposals
First, create and complete your estimate as you normally would by adding line items and groups containing all of the products and services you're proposing.
When you're satisfied with your estimate, you have two options:
A). Click Complete Estimate and an Estimate Proposal will automatically be created using today as the availability date and an expiration date based on your default company settings for proposal expiration. Using the Preview button you can view the proposal, email it and several other options discussed below.

B). Click Proposal + to create your proposal manually.
Set the Available date (when you want the proposal to appear on the customer portal) and the Expires date (when you want the proposal to expire so that it can no longer be accepted).
Proposal Type:
Estimate- Includes all sections of your estimate and should be used for your initial proposal to your customer. If you're presenting multiple options, such as a "Good, Better, Best" presentation, the Estimate Total may not show the correct total until your customer Accepts or Rejects all of the options.
Note: If your customer has already accepted an Estimate Proposal do not create another Estimate proposal because it will Cancel the existing Accepted proposal.
Click Save to create your Proposal.
Important: Your proposal and change orders become a permanent record of the project or line item group at the time they are created so you can use them for future reference even after other changes have been made to the project.
Proposal Actions
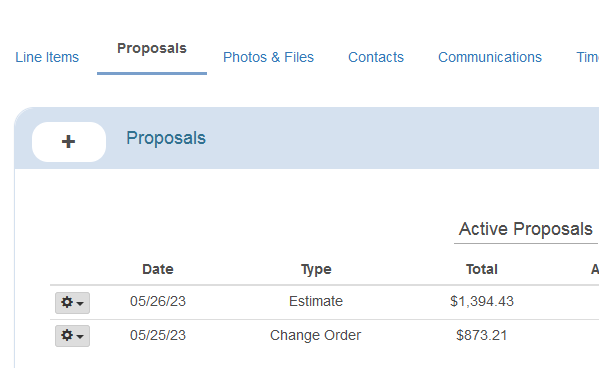
Once your Proposal or Change Order has been created, you have several options which can be accessed with the Proposal Actions button for each proposal.
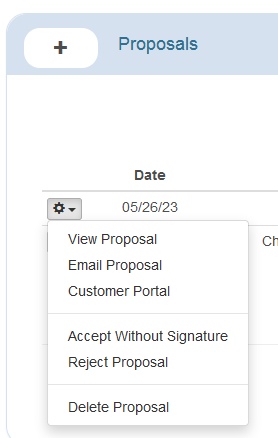
- View Proposal - A preview of the proposal and allows downloading of the proposal document.
- Email Proposal - The same as using the Email drop-down and selecting the Estimate with the same proposal date. This email includes the customer portal link.
- Customer Portal - The same view that your customer will get when you send them the link to your proposals. This option can be used to present the Proposal or Change Order to the client for signing.
- Approve Proposal - Accept the proposal on behalf of your customer. The project will be marked as having been accepted by your company.
- Reject Proposal - The proposal will still show up on the portal but will be marked as Canceled. Once a proposal is accepted, you can still use the Reject option but cannot delete it.
- Delete Proposal - Completely removes the proposal from Estimate Rocket. This option is only available if the project has not already been accepted.
Customer Portal
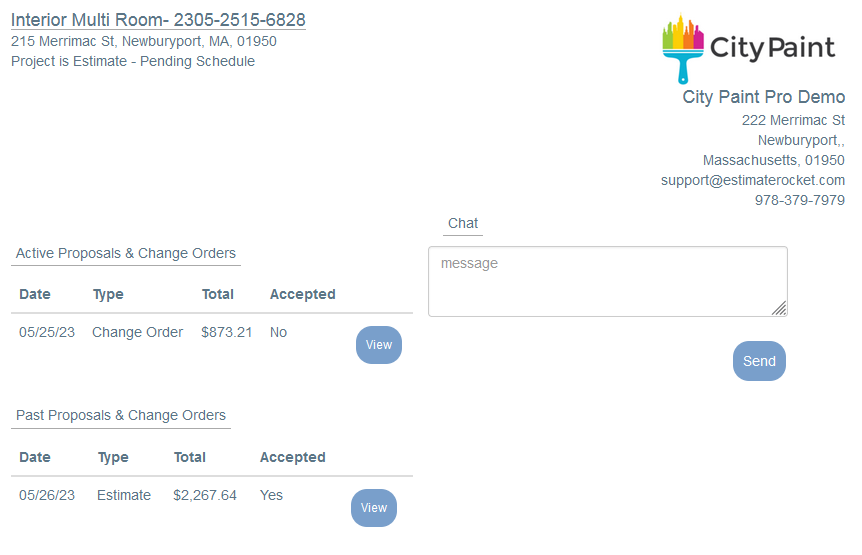
Once you Email a Proposal to your client, they'll be able to click on a link to view it. Below is what your customer will see when they view the customer portal.
Any Pending or new documents appear at the top of the page. Previously accepted or rejected documents will show below the new documents and can be viewed by your customer at any time.
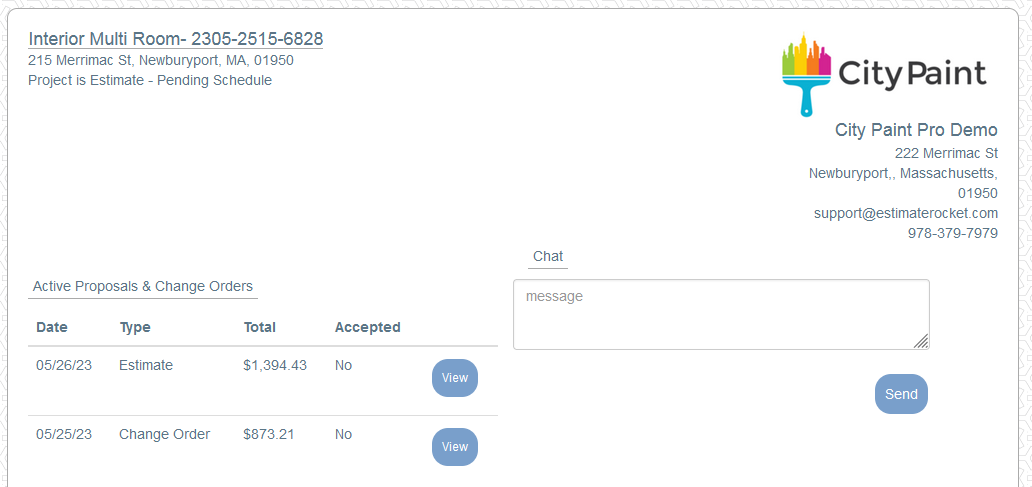
To view and accept a document, your customer will click on the document they wish to accept. The document will be displayed when they click on it.
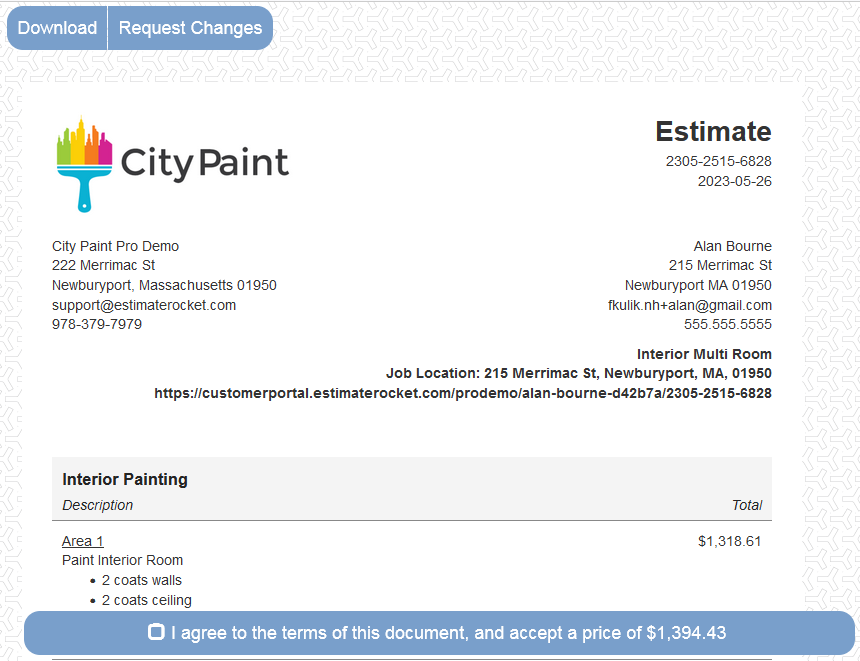
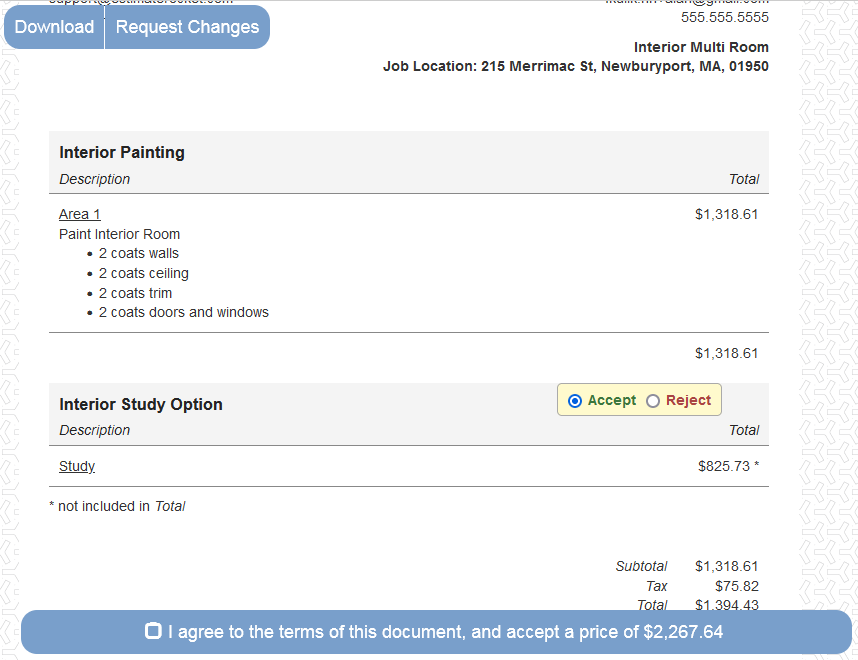
If there are no optional Line Item Groups on the document, the client will see the blue I agree to pay button with the proposal total, which they'll click to move on to signing the document.
If there are optional Line Item Groups on the document, the client will see a "Select or reject options" reminder at the bottom right.
They'll need to scroll through the document until they have clicked Accept or Reject for each option.
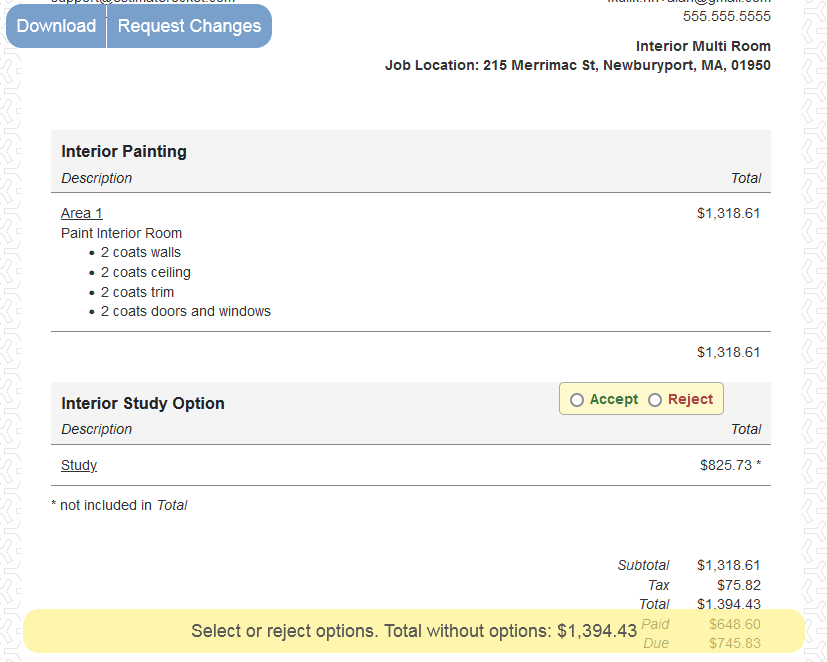
Clicking Request Changes allows your customer to type in a dollar amount they agree to and leave notes. If your customer Requests Changes, the proposal will be set to "Canceled" so that changes can be made and a new proposal can be sent.
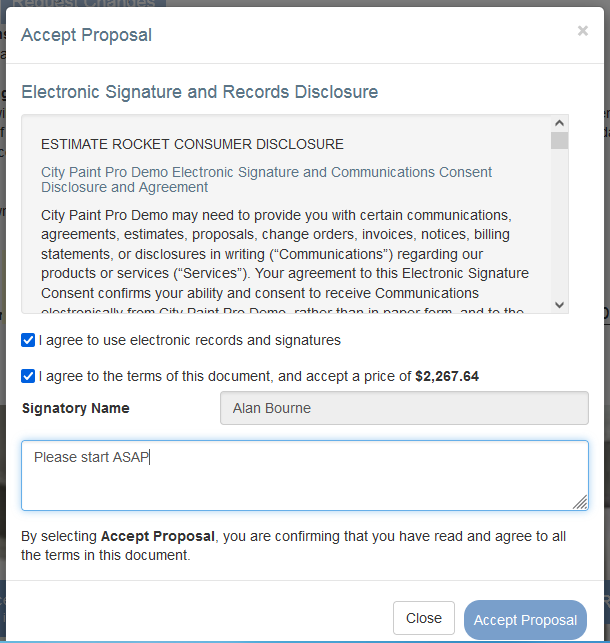
After clicking I agree to the terms of this document, any signature blocks present on the document will be highlighted for signing.
On desktop or laptop the default signature will be Type Name. On a mobile device the default will be Sign Name. The client can toggle between signing and typing their name.
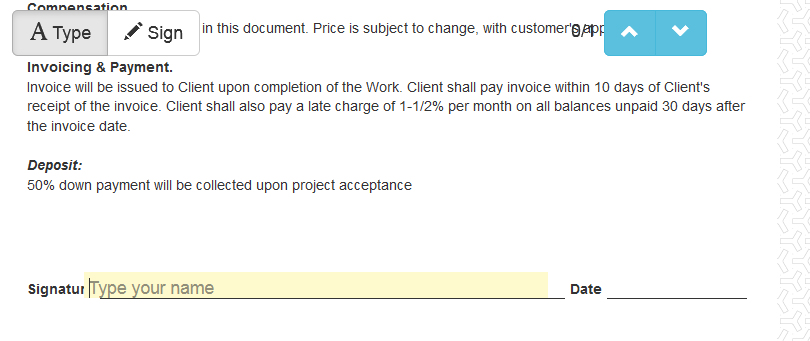
If there is more than one signature block, your customer can navigate between them quickly using the blue up/down arrows.
Once all signatures are filled, the green Accept Proposal button will be displayed and your customer can advance to the final confirmation.
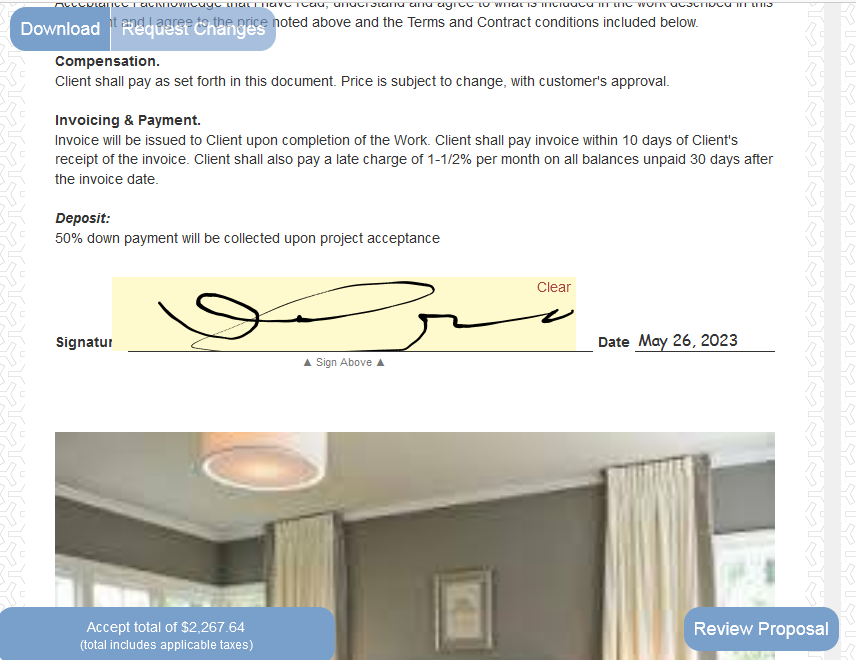
Once Accept Proposal is clicked, one final confirmation is displayed to your customer.
After Accepting the Proposal, they'll be returned to the Customer Portal main screen where they'll see a thumbnail of the proposal with the date, signature, and amount they accepted.
After Acceptance
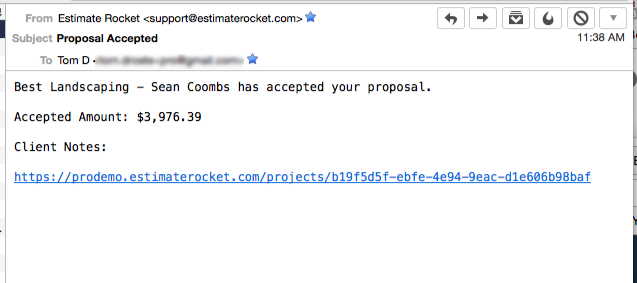
After the acceptance or change request, you'll receive a notification and text alert if setup and an email confirmation of your customers' actions with a link to access the project in Estimate Rocket to review the results.
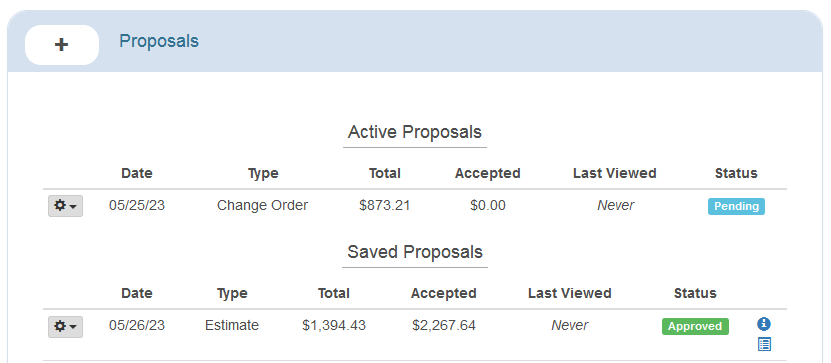
This is what the Proposal will look like on the project screen:
If you have any questions, please let us know!