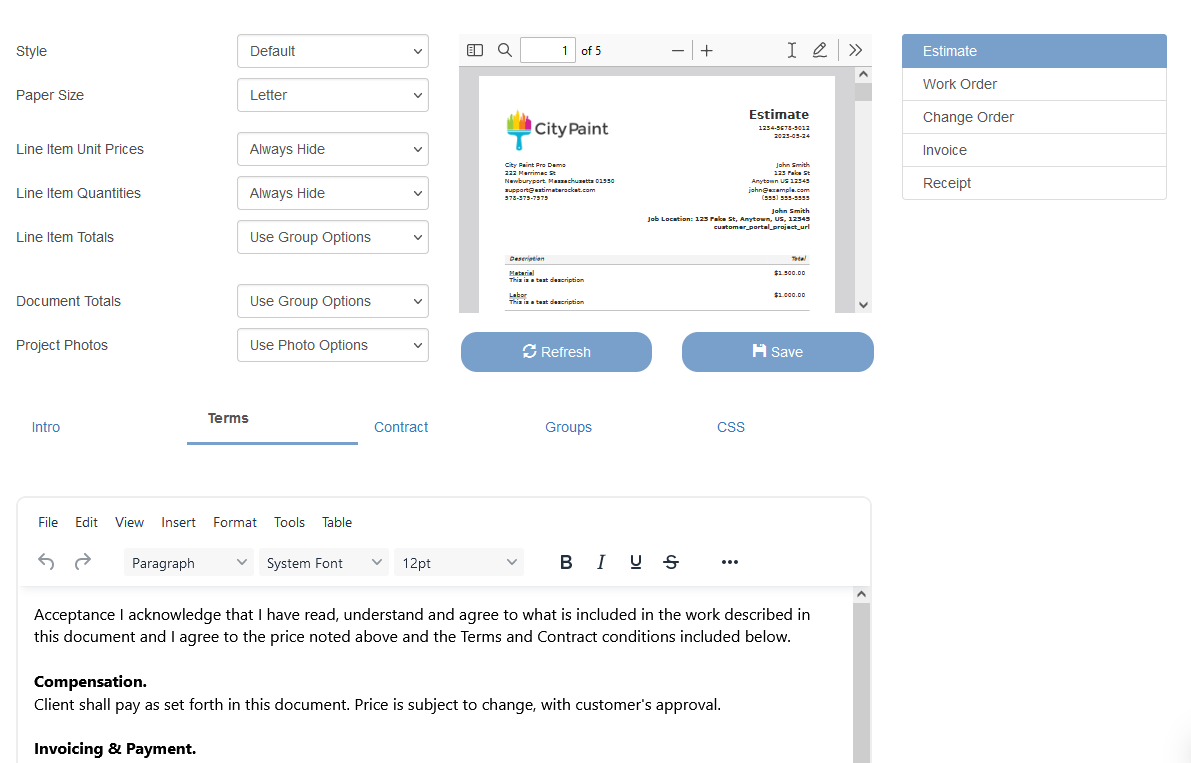
The Document Templates page (Settings>Document Templates) is where you can customize the look and feel of your documents. From here you can change your terms and conditions that appear at the bottom of your documents, edit line item display defaults, paper size and style, and more.
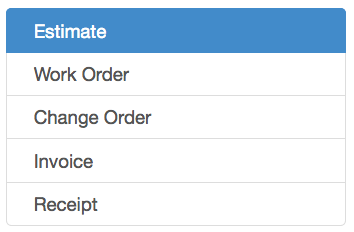
Document Type
Each document type can have its own unique settings. Simply select which document type you want to edit by first select it from the menu on the right hand side of the screen. Be sure to Save before switching to another document type if you have made any changes that you want to keep or they will be lost.
Document Intro, Terms, Contract, and CSS
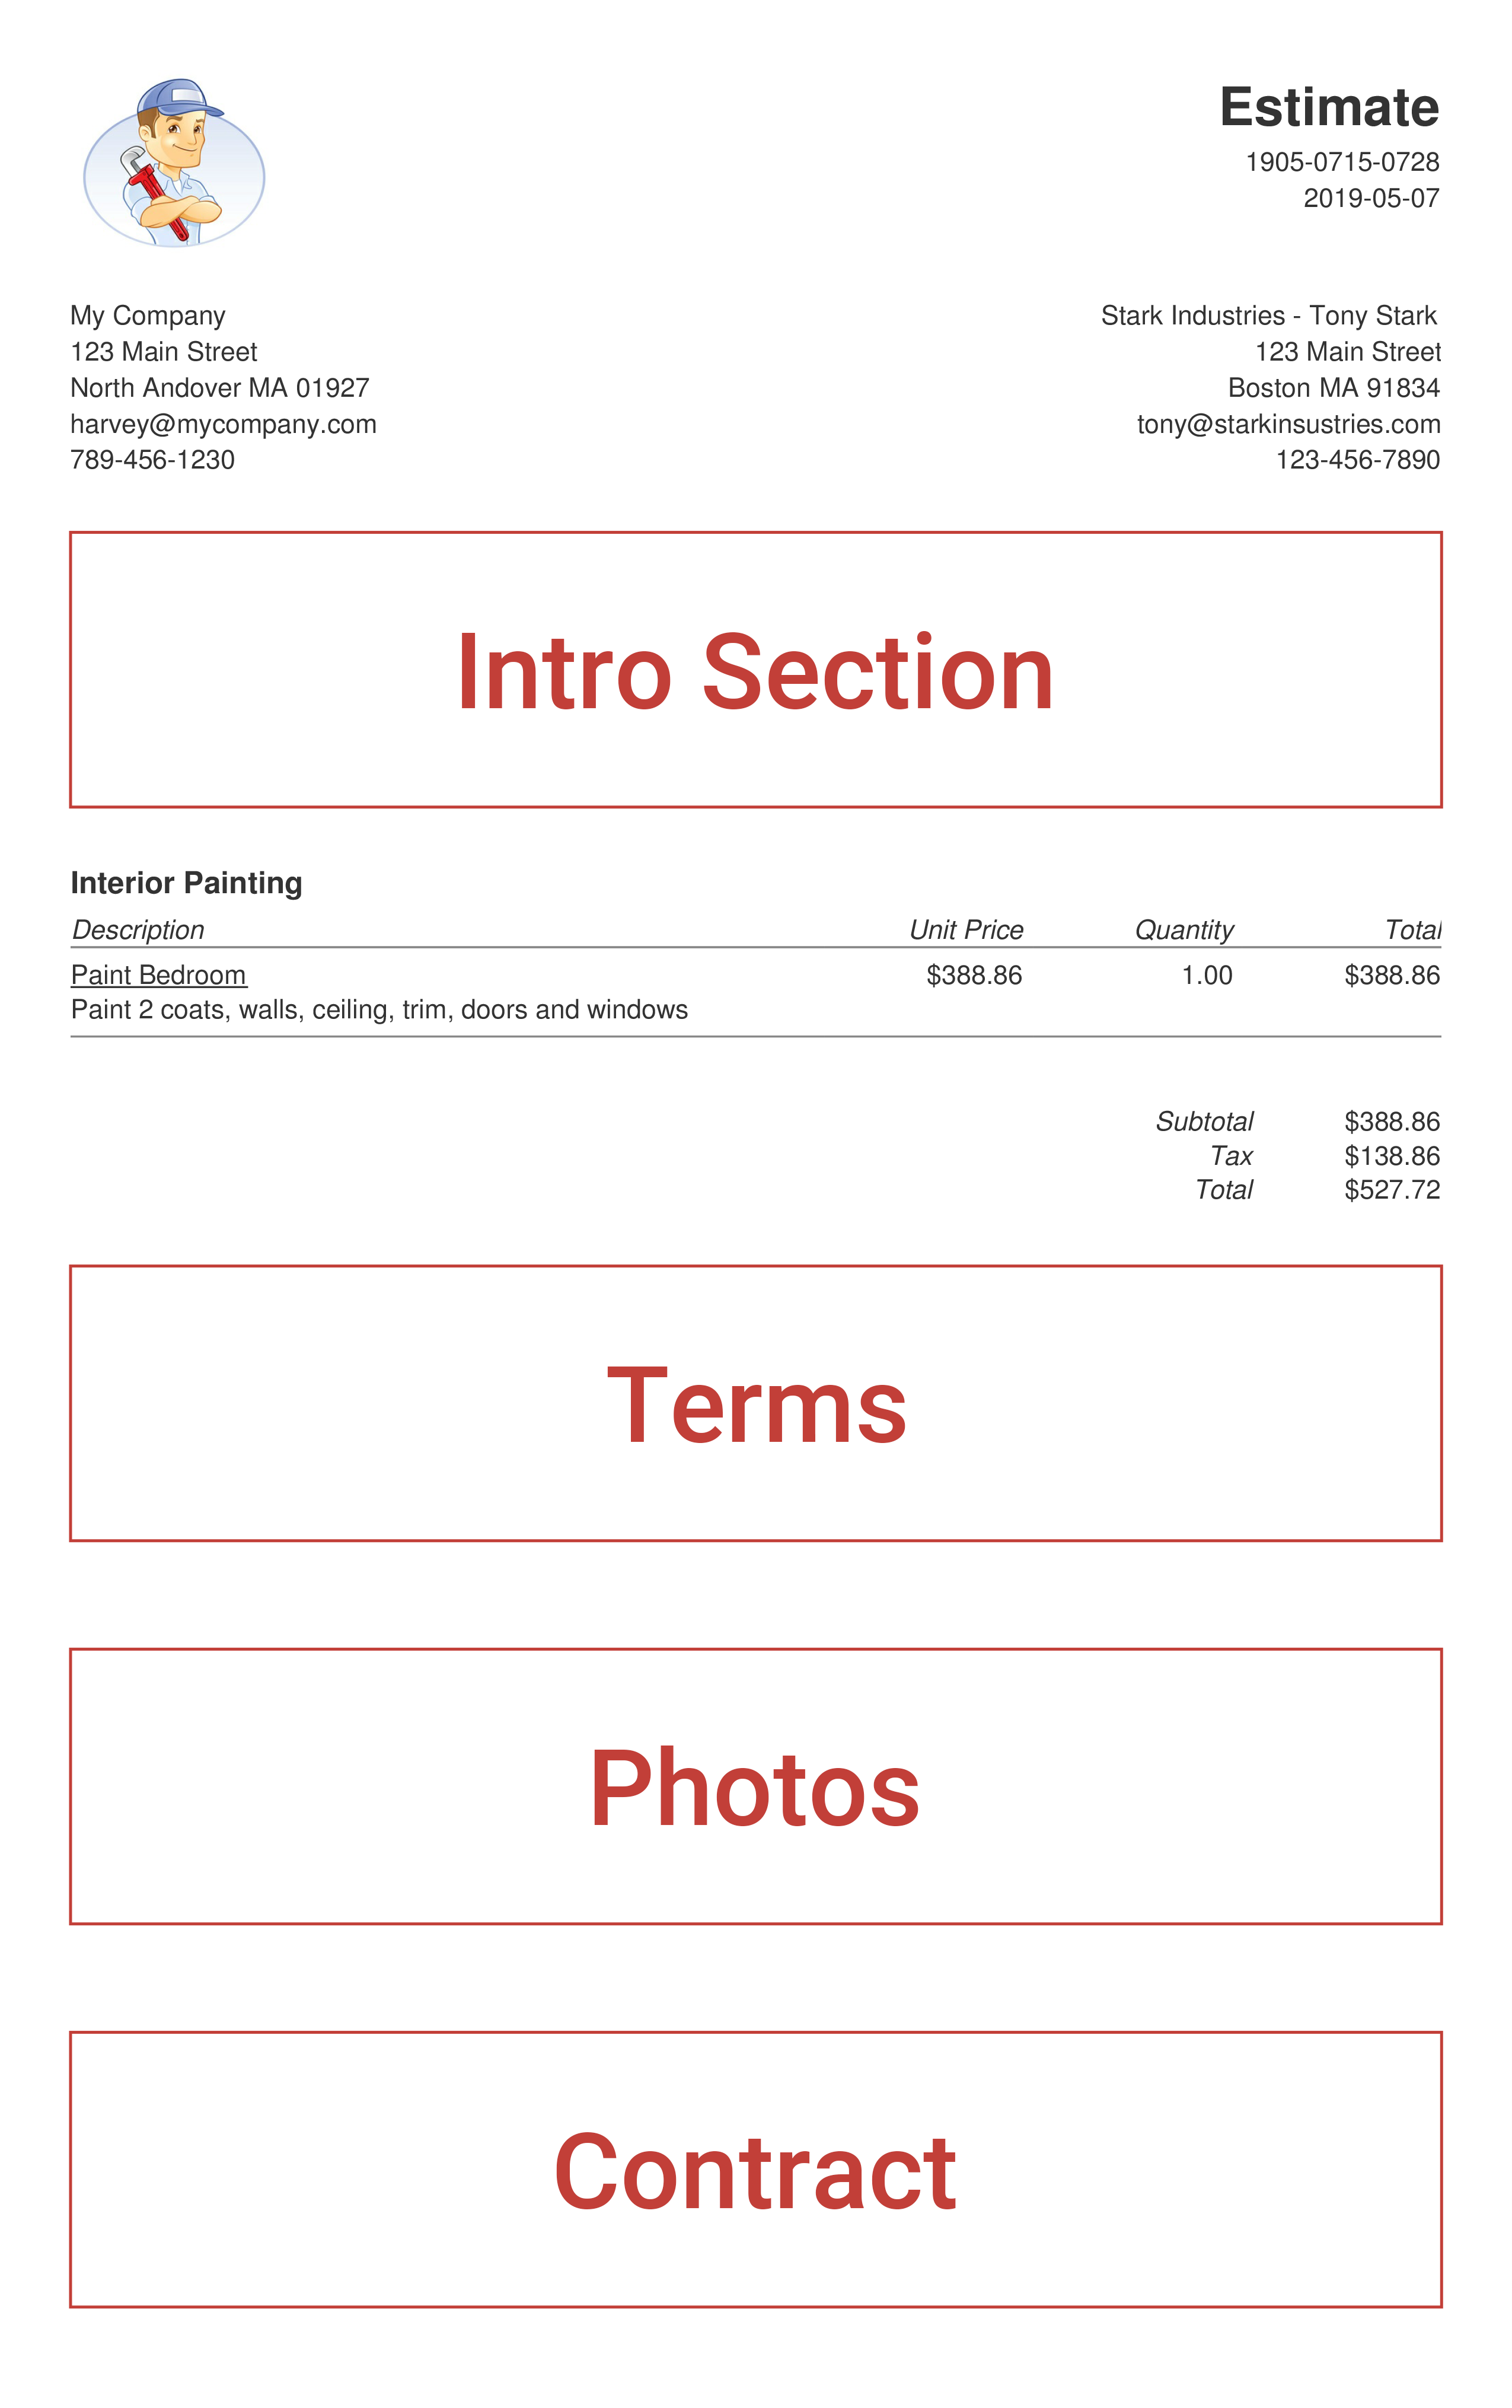
On the tabs near the bottom of the screen are the text areas where you can further define your document:
- Intro - Add text above your line items. This can be useful for creating general introduction to your proposal or a standard cover letter.
- Terms - Add the details of your company's contractual terms and conditions. Terms are added to your document After line items and Before photos.
Note: You should replace the default Terms with your company's terms and have them reviewed by your attorney to make sure they protect your rights.
- Contract - Add additional contract or terms information after any included photos. This is a good place to put long contract details that may be mandated by your state.
- Groups - Pre-define line item groups with different settings. Define groups like Labor or Materials that you might want to have different column Hide and Show options on your different documents.
Note: Make sure to leave the Line Item Settings on the left set to Use Group Options (they override all other settings)
- CSS - Further customize your document with the use of CSS codes. Our support team would be happy to help you with any custom needs you have.

Paper and Column Settings
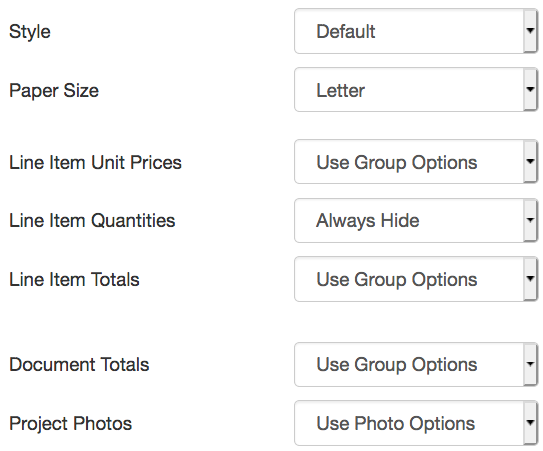
On the left of the screen are the document Default settings. They control paper size, what columns will display, and whether you want photos included in the document.
- Style - Select Custom Styles if available.
- Paper Size - Select Letter, Legal, or A4.
- Column, Total and Photo settings - These selections will control how your line items and totals display. The default choice is Use Group Options. This allows you to control options using the Groups feature or by adjusting the settings on each project line item.
- Line Item Unit Prices - Use Group Options, Show, Hide
- Line Item Quantities - Use Group Options, Show, Hide
- Line Item Totals - Use Group Options, Show, Hide
- Document Totals - Use Group Options, Show, Hide
- Project Photos - Use Group Options, Show, Hide
For example, if you want to show just a total price for a line item, with no quantity or unit price, you would set Line Item Unit Prices and Line Item Quantities to Hide.