Estimate Rocket has integrated time tracking allowing each of your team members to track time by project and work type. Time tracking is included with every user and simply needs to be enabled inside the Employees/User profile. Once enabled a new button will be added to the top navigation menu which can then be used to punch in and out for jobs. Tracked hours can then be viewed on the Hours page and the Hours Report.
Setting Up Time Tracking
Enabling Time Tracking
Time Tracking can be enabled for any employee by simply editing their profile under Settings>Employees and checking the Time Tracking checkbox at the bottom of the dialogue.

Permissions
If a user needs to be able View, Edit, and Delete Time Entries then enable the Manage Time Entries under Permissions.

User Types
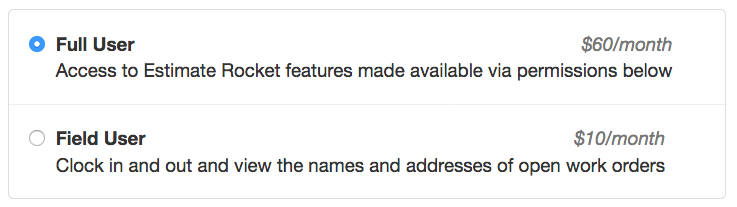
When creating a new employee you can select what type of user they are. The person can be a Full User that will have access to all features or a Field User that can only clock in and out of a job and view the names and addresses of open work orders. Field Users only cost $10 per month no matter which tier of Estimate Rocket you have.
NOTE: A Field User can be changed to a Full User at any time but a Full User CANNOT be changed to a Field User.
Work Codes
Work Codes are categories that a user will select when clocking out for the type of work that is being done. These can be found by going to Settings>Time Tracking. You can add and manage all of the available work codes from this screen.

Using Time Tracking
Time tracking can be used on any projects that are in the Work Order Pending Schedule and Work Order Pending Completion stages. When using time tracking on your device for the first time be sure and Allow Location Services. Your web browser should automatically prompt you for this permission but it can always be enabled later by going into your web browsers settings.
Note: Estimate Rocket only records the current location when clocking in and clocking out.
You can create a bookmark on your desktop and mobile device for easy access back to Estimate Rocket. Here is how to make a bookmark on the home screen of your mobile device.
Clocking In
1.) Open Estimate Rocket and select the grey Out button in the top left hand corner of the screen.
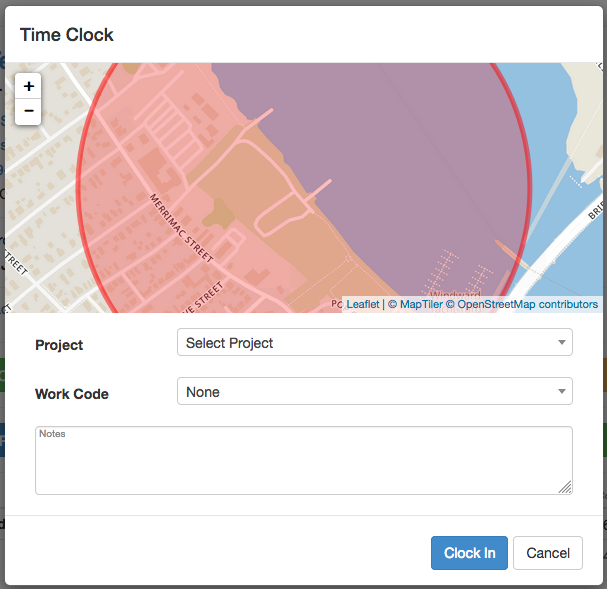
2.) Use the Project drop down to select which project you are clocking in for.
3.) Use the Work Code drop down to select what type of work is being done.
4.) Enter any additional information into the Notes field.
5.) Select Clock In when finished.
Clocking Out
1.) Open Estimate Rocket and select the blue timer button in the top left hand corner of the screen.

2.) Select Clock Out to finish.
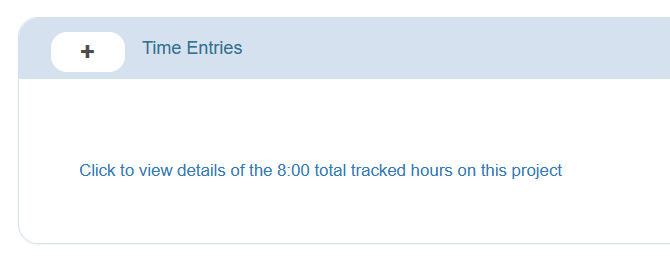
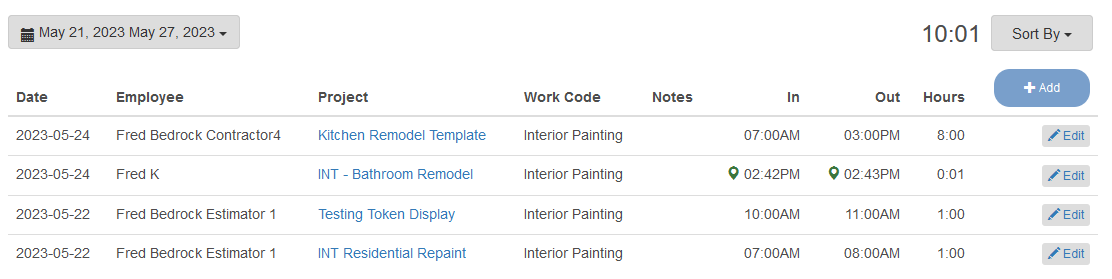
You can also view the detailed hours for a project in the Time Entries section on the project.
Managing Time Tracking
Viewing Employee hours and editing time entries
To view and edit your employees time entries select the Hours page from the menu at the top of the page. Here you can see all the users in the system with Time Tracking - Clock In/Out enabled. It defaults to showing the current weeks hours summary by Employee and by day.
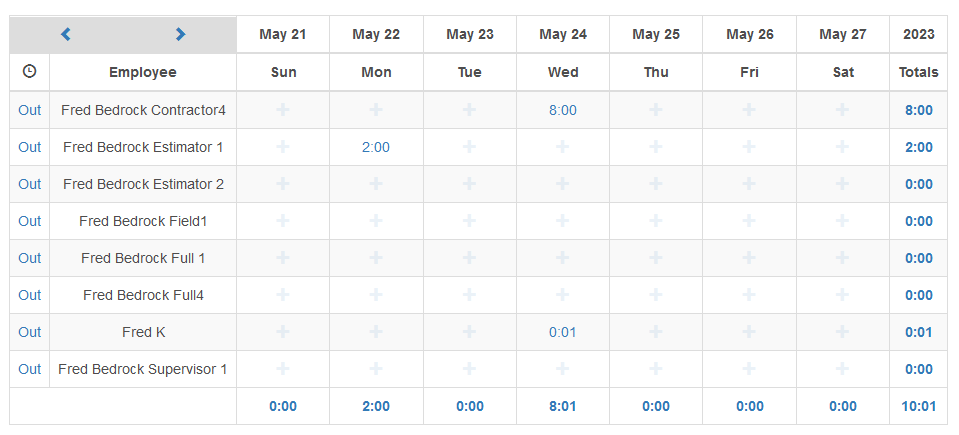
The number in each cell represents the total number of hours that were clocked for that day. Blank cells have no hours clocked for that day. Cells that are highlighted in green mean that person is currently clocked in. Clicking on a green cell will bring you to the details screen for that employee where you can edit the open time entry or add a new time entry.
Adding manual time entry
On the Hours summary page Clicking the + button in an empty cell will allow you to make a manual time entry for that Employee for that day.
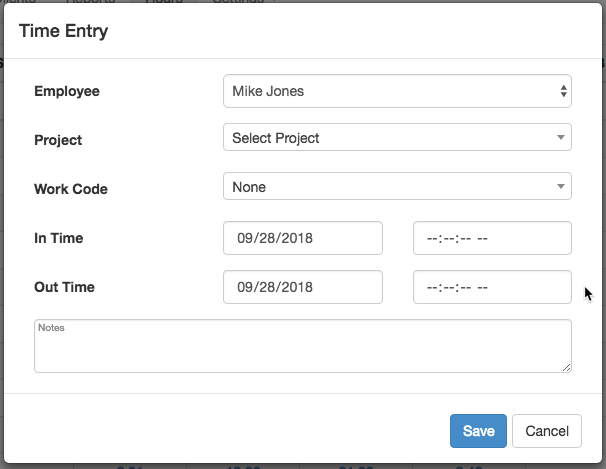
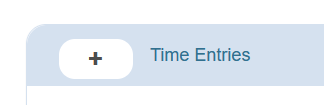
On the project detail page you can add a manual time entry by selecting the + button from the Time Entries section.
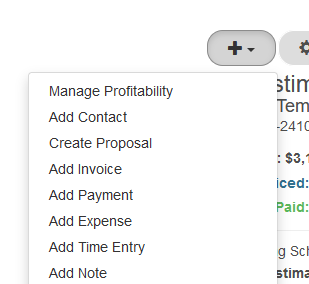
Or by selection the Add time Entry from the Universal Add button at the top right of the project.
Viewing Time Details
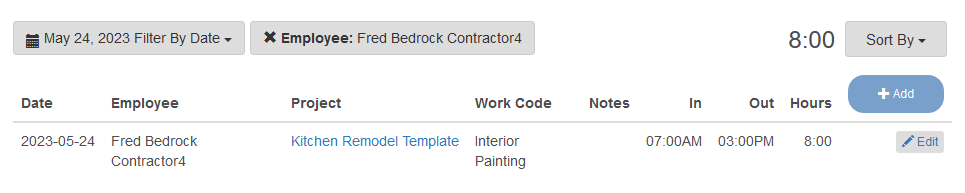
To View/Edit an Employees details for the week, click on the employee total hours in the Totals column on the right.

To View/Edit all entries for a day, click on the total hours at the bottom of the day you want to view.

To View/Edit all entries for the week, click on the Total number in the bottom right corner of the grid.
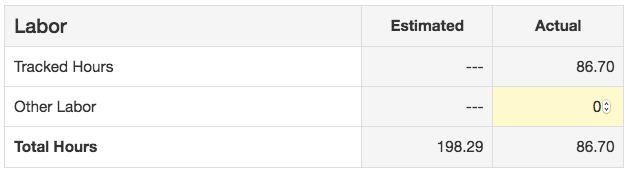
Project Labor Actual Hours
Time entries for a project will automatically be update the Profitability section of the corresponding project in the Tracked Hours field.
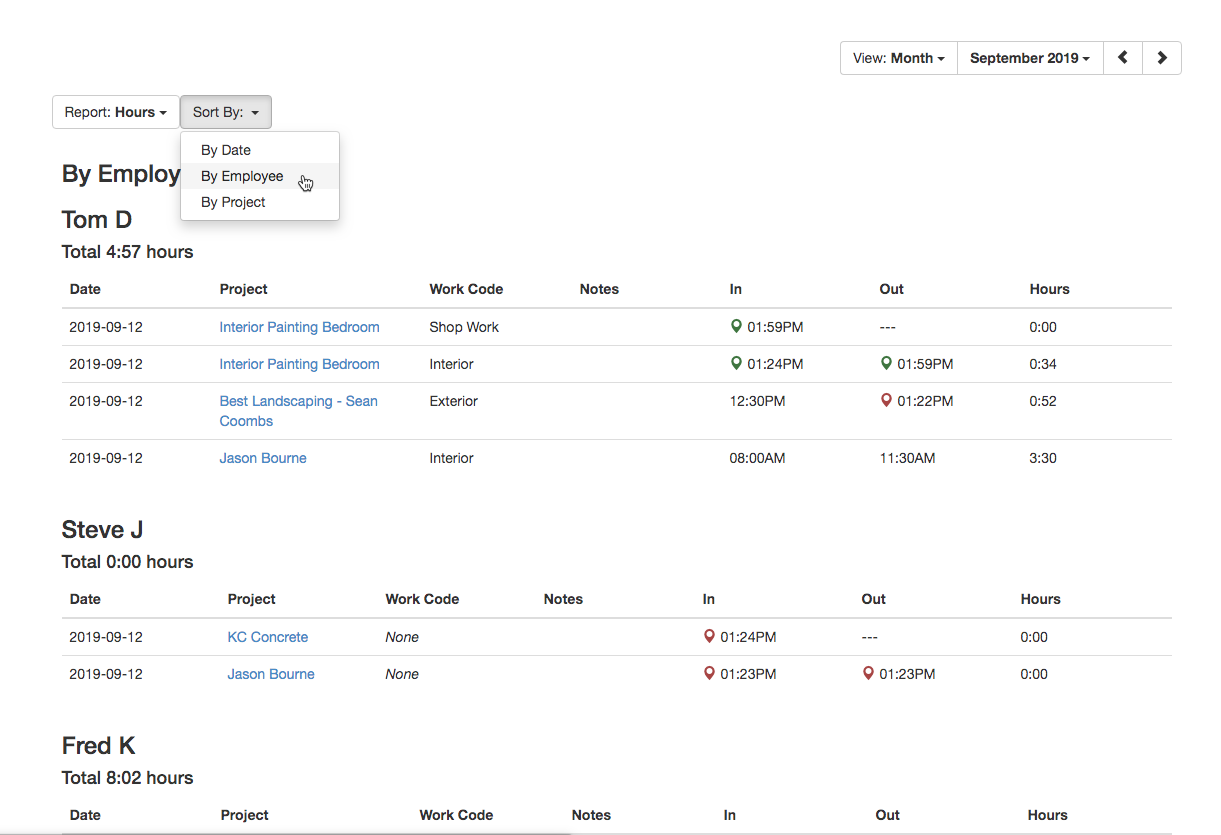
Hours Report
You can also view the new Hours report on the reports page. It includes a Sort By Employee to view you a Time Card view and it also gives you a Project view for project totals.
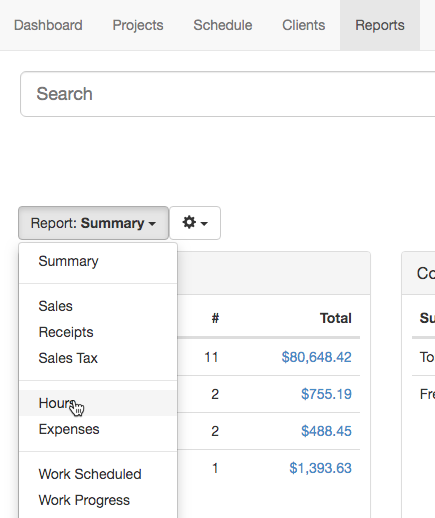
View by Date (default), Employee (time card view) or Project.